Drainage Pooling: How to Prevent It Effectively
Learn why water pools on your paver patio and how proper base preparation prevents drainage issues before they cause damage.
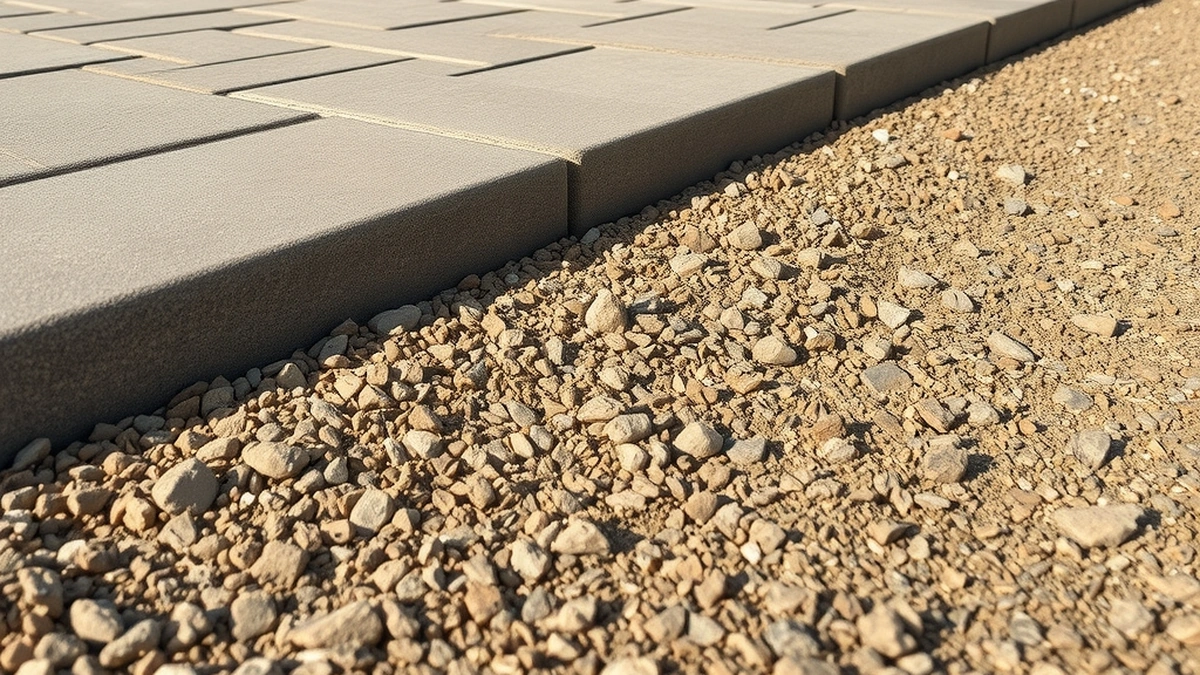
Drainage pooling happens when water lacks a clear path off the patio. Prevent it by excavating 6 inches of compacted gravel base, laying a geotextile membrane, and ensuring proper slope away from the house. This stops standing water and protects your pavers.
- Typical range
- Varies by system and site
- First step
- Measure the space and confirm the load
- Professional help
- Recommended for structural or electrical work
Some links on this page are affiliate links.If you buy through them we may earn a commission at no extra cost to you. We do not accept payment for rankings. Read the full disclosure.
Drainage Pooling: How to Prevent It Effectively
Drainage pooling is one of the most common issues homeowners face after installing paver patios and driveways. When water sits on the surface instead of flowing away, it can erode the mortar, lift the pavers, and create an environment for weed growth. The primary reason for this standing water is inadequate base preparation. Without a properly graded and compacted foundation, the pavers cannot shed water effectively. Understanding how to prevent drainage pooling requires focusing on the substructure first and the paver surface second.
Why Drainage Pooling Happens on Paver Patios
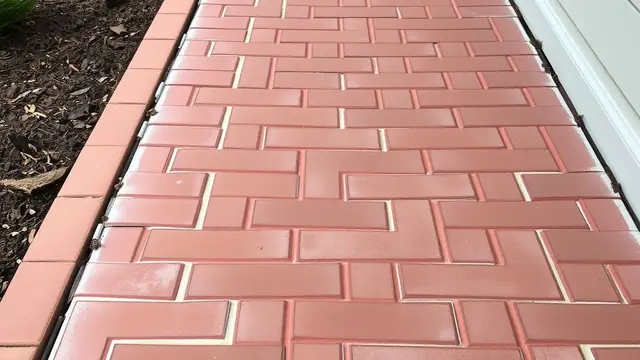
Water pooling occurs when the installed pavers sit on a base that does not allow water to flow laterally or downward. If the subbase is too shallow, water simply fills the voids beneath the pavers. Over time, hydrostatic pressure builds up from the groundwater, forcing the pavers upward and causing the mortar joints to crack. This lifting effect is particularly damaging to concrete and brick pavers, which rely on tight joints to channel water away. Travertine pavers, while attractive, share the same vulnerability if the foundation is not properly addressed. The bottom line is that the surface material matters less than the ground it rests on.
The Critical Role of Base Preparation
Base preparation is the unsung hero of any paver installation. The standard rule of thumb is to dig down 6 to 8 inches and lay a 3-inch layer of compacted gravel. This creates a solid, sloping foundation that directs water toward storm drains or downspouts. If the base is too shallow—say, less than 4 inches—water has nowhere to go but up into the paver joints. Conversely, if the base is not compacted, voids form where water collects. A typical 10x10 foot patio requires roughly 100 square feet of base at $4 to $8 per square foot for repair, totaling $400 to $800 just for base work. Skipping this step guarantees future pooling issues.
Surface Materials and Their Drainage Properties
The paver surface itself affects how water moves across it. Concrete pavers typically cost between $8 and $15 per square foot, while brick pavers range from $10 to $20 per square foot. Both materials rely heavily on their joints to channel water. Permeable pavers, which cost $12 to $25 per square foot, offer superior drainage because water passes through the grid system. Regardless of the material chosen, if the surface is installed over a poorly prepared base, pooling will occur. Sealing the pavers with a $1 to $3 per square foot sealant can help repel surface water, but it does nothing to address the root cause of poor subgrade drainage.
Calculating the correct slope is essential for directing water flow. A general guideline for residential patios is a 1-inch drop for every 8 feet of horizontal run. For a 10x10 foot patio, this means a total vertical drop of about 12.5 inches across the diagonal or along the longest run. To achieve this, builders often use stakes and a string line to establish the grade before pouring the final paver edges. You must account for roof pitch and existing yard contours so water does not pool against the house foundation. Failing to calculate this runoff correctly is the fastest way to invite standing water problems.
| Paver Type | Cost per Sq Ft | Drainage Feature |
|---|---|---|
| Concrete Pavers | $8–$15 | Channeled joint gaps |
| Brick Pavers | $10–$20 | Channeled joint gaps |
| Travertine Pavers | $15–$30 | Channeled joint gaps |
| Permeable Pavers | $12–$25 | Grid allows water through |
Step-by-Step Prevention Process
Preventing drainage pooling is a straightforward process if you follow these steps. First, excavate the area to a depth of 6 to 8 inches. Second, lay a 4-foot by 4-foot piece of geotextile fabric to separate the topsoil from the gravel. Third, spread 3 inches of washed gravel and compact it using a plate compactor. Fourth, shape the compacted gravel into a 1-inch per 8-foot slope. Fifth, lay the pavers tightly together, ensuring no mortar joints are left unsealed. Finally, check the grade with a level to confirm water will flow away from the property line. Skipping any of these steps guarantees future pooling issues.
Repairing Pooled Areas
When pooling already exists, you must address the subbase before replacing any pavers. Dig out the existing pavers and the surrounding 4 to 6 inches of gravel. Remove any organic matter or standing water, then re-spread the gravel and re-compact it to firmness. You can also install a drainage pipe at the low end of the patio to actively redirect water away from the paver system. Once the base is corrected, you can replace individual pavers that have shifted or lifted due to hydrostatic pressure. Professional paver patio repair services charge a base repair rate of $4 to $8 per square foot for this excavation and regrading work.
Cost Considerations for Prevention
Preventing drainage pooling requires an upfront investment, but it saves thousands in repairs later. If you hire professionals, the entire installation including base preparation, pavers, and sealing might run $100 to $200 per square foot. For a 10x10 patio, a professional installation could cost $10,000 to $20,000. DIY installations are cheaper but require renting heavy equipment and buying materials. You can save money by doing the base preparation yourself, which typically costs $4 to $8 per square foot, bringing the total project cost down significantly while still achieving proper drainage. For more details on project pricing, visit how much does a paver patio cost.
Maintenance Tips to Keep Water Flowing
Regular maintenance ensures your paver patio remains free of standing water. Inspect the base annually for signs of erosion or settling. Check the pavers for shifting or uplifting, which indicates water is pushing against them from below. Re-seal the paver surface every few years using a high-quality sealer priced at $1 to $3 per square foot. Maintain the slope around the patio by keeping lawn areas trimmed and directing roof gutters away from the paver edges. Following these steps consistently will keep your patio safe, functional, and completely free of drainage pooling. For guidance on selecting the best pavers for your climate zone, see our guide to the best paver patios.
Next, compare how much does paver patio cost, paver patio installation, paver patio repair before you commit.
Frequently asked questions
What is the most important measurement?
Start with the ceiling or clearance number; it decides which systems can fit.
What does a typical project cost?
Costs vary by system and site access; the guide shows the line items and a planning range.
Can I install this myself?
Some tasks are DIY-friendly, but structural, electrical, and load-bearing work should be done by a licensed professional.
How long does installation take?
A simple setup is a weekend; a full build with electrical or structural work can take several weeks.
What should I check before buying?
Confirm dimensions, load ratings, and the manufacturer's installation requirements for your exact model.
Where can I find local help?
Ask a licensed contractor or installer who has worked with the same system and can inspect your site.
Sources
Some links are affiliate links.If you buy through them we may earn a commission at no extra cost to you. We do not accept payment for rankings. Read the full disclosure.